Queen Headboard PLANS
Headboards can be rather pricey. Sometimes it’s hard to find exactly the style you are looking for. So, follow along with me and I will show you step by step how to build your own. This headboard, is simple, elegant and timeless. It is perfect for any bedroom.
Materials Needed:
(5) 2x4 Pine boards
(1) 4X8 MDF 1”
white paint
glue
1/4” plywood or MDF
I want to note, that I made this mostly out of MDF so this headboard is best painted. If you want to stain it, you will need to used plywood and not MDF, however plans won’t work exactly as stated for 3/4” plywood
Cut List
(4) 2x4’s cut at 50”
(1) 2x4 cut at "64”
MDF cut 40”x56’
MDF cut (2) 3”x 56”
MDF cut (5) 2” x 34'‘
1/4 plywood or MDF cut (2) at 1'‘x30” (optional)
Be sure to sand any of the wood pieces as well.
Time to Assemble
The first thing is to make the 2 posts. To do this, glue together two of the 2x4’s that you cut at 50”. apply glue to boards and clamp together and allow to dry. Repeat this to make another post. You will essentially end up with 2 4x4 posts.
After the glue was dry, I ran the posts through my planner to square them off, but if you do not have a planer it is okay to eliminate this step as well.
Pocket hole the MDF backer
Put 6-7 pocket holes on either side of the MDF(40” sides) and secure to the posts.
When doing this, Raise up the MDF 1.75”. I used scarp 3/4’ piece of plywood and some scrap 1” MDF.
Attach both post with screws and glue and flip the piece over so you can start adding trim pieces on the front.
Start adding detail on the front
At the top, glue and nail on the 3”x56” piece, then stack the 2”x56” piece on top of that. Glue and nail on as well.
Then glue and nail on the other 3”x56” piece on the bottom making sure it is flush with the backer.
Add on the vertical Pieces
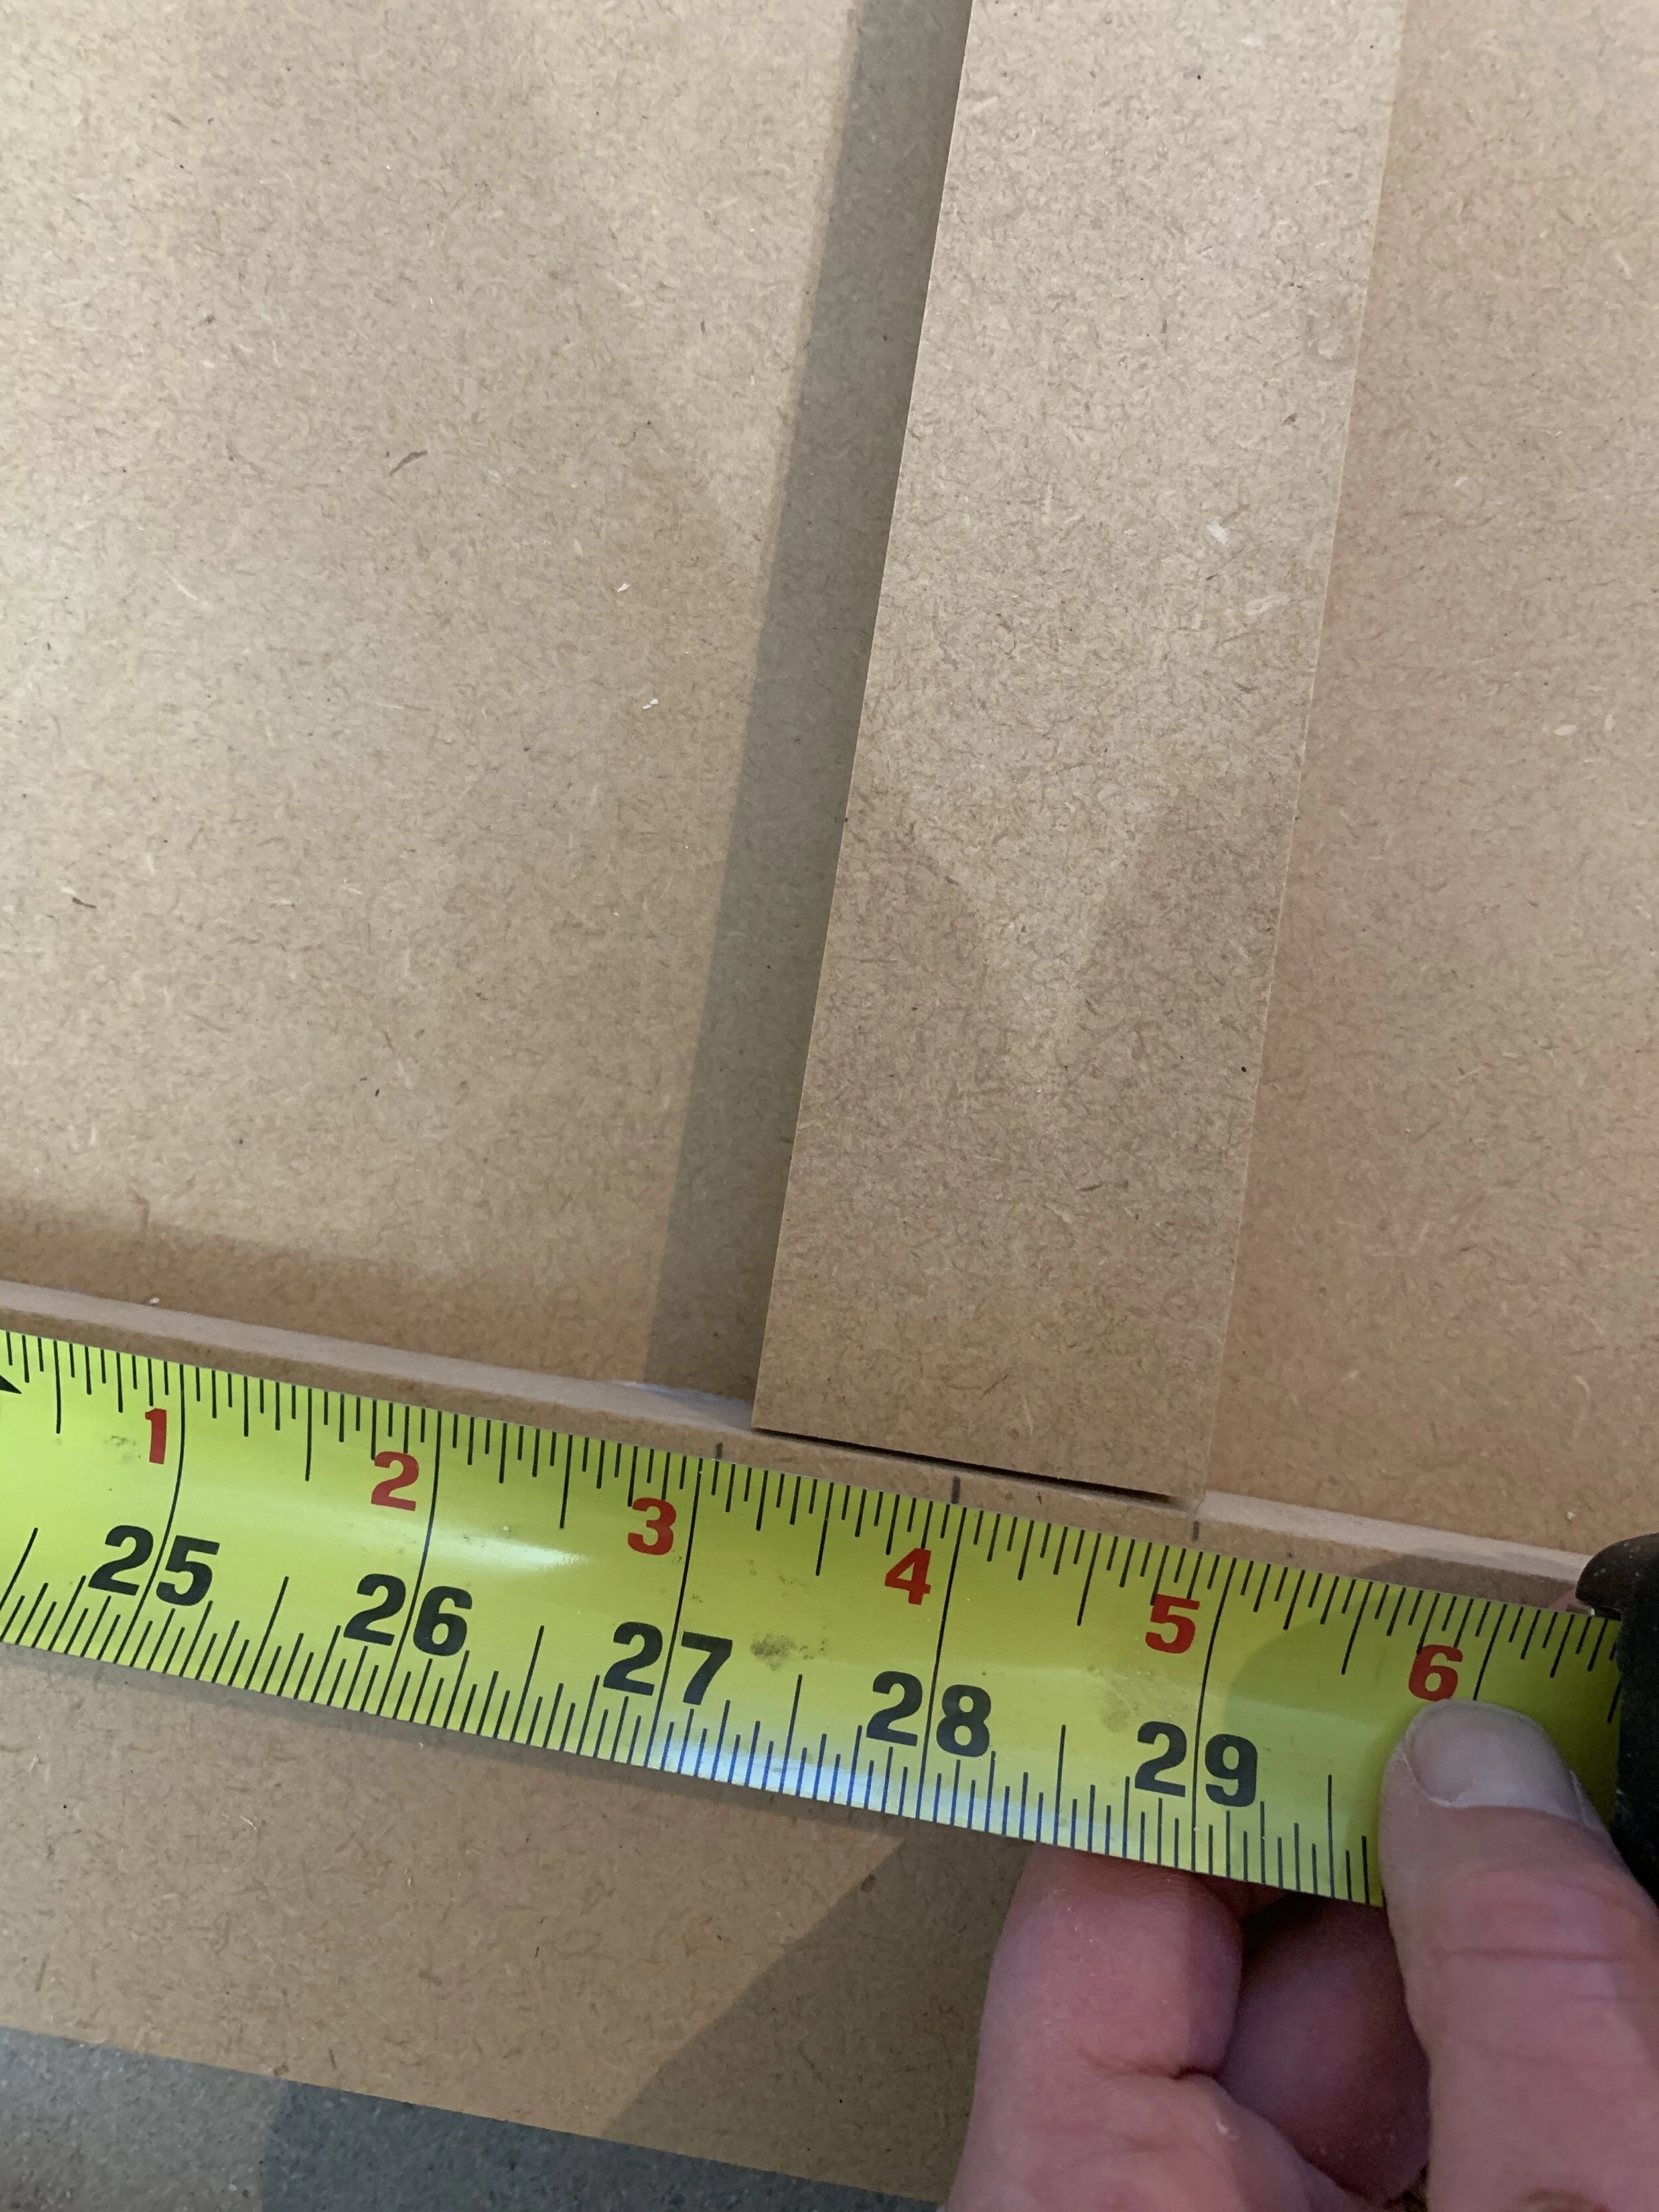
Take the 2” x 34” pieces and attach these. Start by placing the centre of one at 28”. This will be the centre piece.
Glue and Nail in place. checking for square as you go.
Add the remainder for the vertical pieces. Two will go on either side of the middle one you just secured on. Each one will be placed approx 7 3/4” from each other.
Glue and nail these on.
stand the headboard up, and secure the 2x4 that was cut at 64” onto the top. Ensure there is equal overhang all on each side.
I used glue and counter sank 2.5” wood screws into the posts from the top and then used wood plugs to plug the holes.
OPTIONAL STEP
I had some 1/4” plywood laying around so I decided to add some detail onto each of the posts. you do not need to do this step If you don’t want to.
I centred each of the strips in the middle of the posts and secured with wood glue and air nails.
Fill all the nail holes and prime. Once this is dry, paint in the color of your choice. I chose white. Its such a timeless color and its prefect for any bedroom.
I cannot thank you enough for following along. I hope you found these plans useful and easy to follow. Please follow along with me on Instagram , Facebook and Pinterest for more DIY and woodworking.
If you use these plans to make this headboard, please email me a picture or share a picture with me on Social media so I can share it.
Until next time,
x
Amber


